Recently, we installed a marketing automation tool, ClickDimensions, in our Dynamics CRM Online tenant. One of the features of ClickDimensions is that it integrates with your website’s forms to automatically create contacts in CRM. Since we were going to leverage our existing forms rather than using their built-in form builder, we could not take advantage of the automatic alerting tools. That meant we needed to create our own CRM workflow to alert someone when a visitor posts a new form.
The tutorials on the ClickDimensions site described the process of creating a new Dynamics CRM workflow, but there was one caveat—getting the data from the form and into email wasn’t exactly the easiest. When we started to wire up our existing Newsletter and Contact Us forms, I noticed that the newly-posted forms create two sets of entities in CRM: Posted Form and Posted Field. The Posted Form record is the parent and the Posted Field records, each corresponding to an input on the form, are the children. While this makes total sense, it also causes problems. If the workflow ran when a new Posted Form was created, then it was a challenge to get access to specific fields I needed because they were all child records rather than attributes. If the workflow ran when a new Posted Field (Email) was created, I would have access to one field but none of the others.
Let me back up and be honest. I must confess I did not dig too deep on this one when it wasn’t on the front page of a few search results. In addition, I just do not see Microsoft putting as much effort into separate workflow engines in products like SharePoint and CRM as they develop more cross-platform alternatives like Logic Apps and Flow, and I was looking for an excuse to showcase some of the interesting tools in Azure. So, instead, I created a simple workflow that sends an email when someone posts to our Contact Us form.
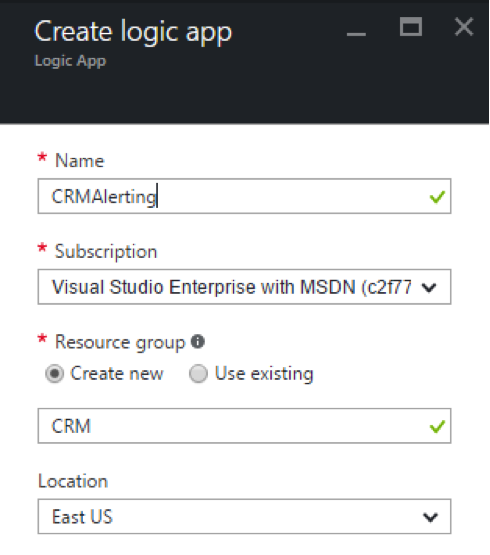
First, I start out by creating a Logic App and select the Blank Template once it is created.
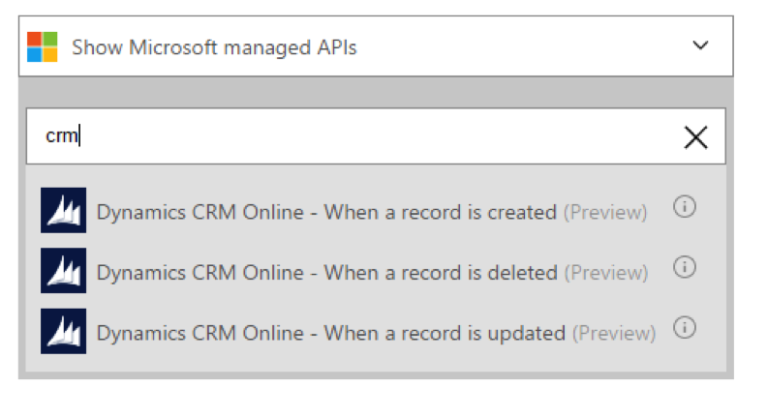
Entering the designer, it asks me what the trigger should be. I search for CRM and select the option to trigger when a new record is created.
Then, I sign into my CRM account.
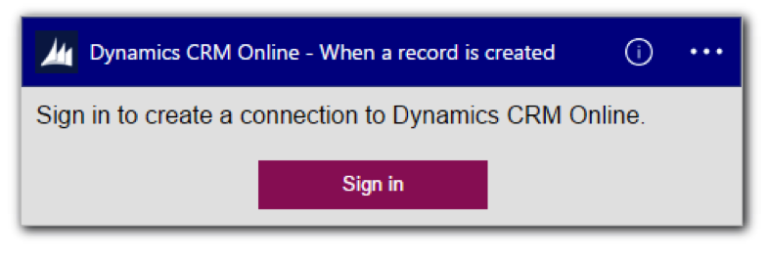
Once I click Sign In, the designer opens a login screen. I happen to already be logged into CRM, so selecting my account in the popup immediately takes me back to the designer where I can select my details for the trigger.

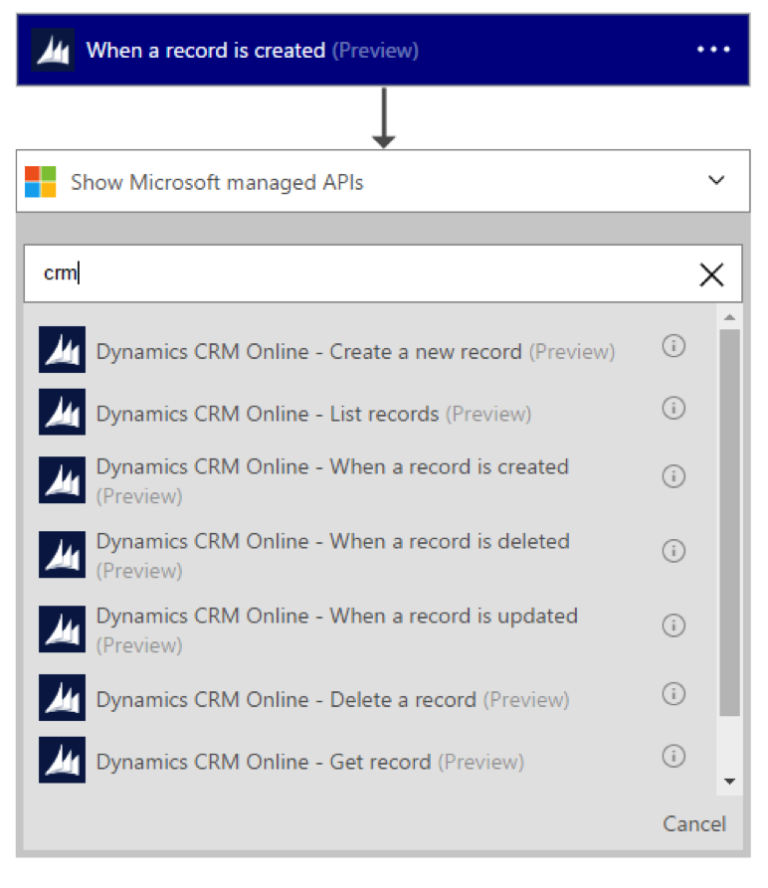
Now, our Logic App triggers when a new record whose entity type is Posted Forms is created in CRM. Next, we are going to get the fields posted by the form.
Start by adding a new action from CRM called List Records.
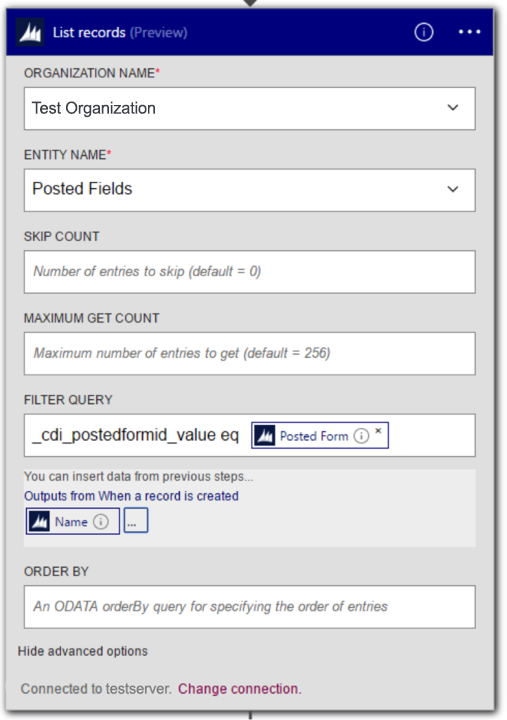
Set the Organization to that of the trigger. In our example, our child entity is Posted Fields, so we will select that. Then, we need to go into the Advanced Properties in order to apply the filter that will limit our search to just those fields posted with the form that triggered the current instance of the Logic App. The filter query uses the same ODATA syntax if you were filling it in the query string in your browser, and we can add values from previous steps in our process. When I pull the Posted Field data manually in the browser, I determine my foreign key is _cdi_postedformid_value. Next, I choose the Form output from the previous step to input the ID from the Posted Form.
Next, we need to transform the child rows we received back into something consumable by email. I really tried to do this part directly in my Logic Apps workflow but I could not find a way given the current feature set. Instead, I choose to send the data to an Azure Function and return a string. Hopefully, we will have an update soon describing how to eliminate the Azure Function. Keep an eye on their release page. Recently, they have been releasing weekly—so who knows. You may not have to wait too long.
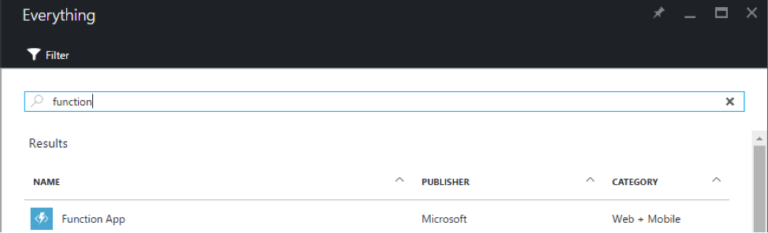
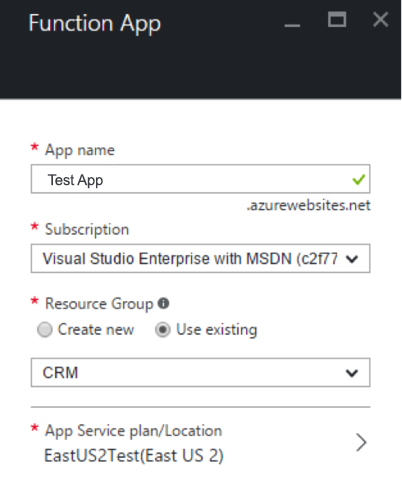
Save the Logic App and head over to create a new Azure Function.
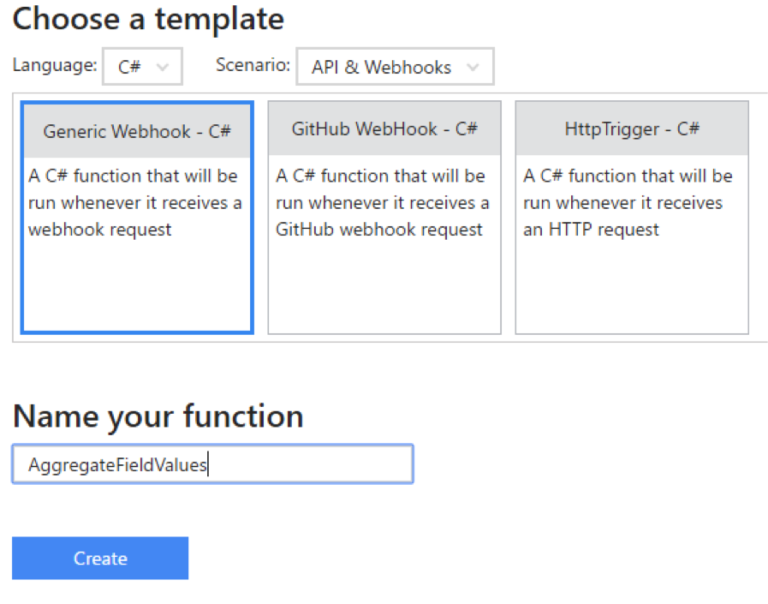
For our example, I chose to use the quick start approach by selecting the Generic Webhook – C#. In many cases, the better approach would be to use source control and automated deployments.
#r "Newtonsoft.Json"

using System.Net;
using Newtonsoft.Json;
public static async Task<object> Run(HttpRequestMessage req, TraceWriter log)
{
    log.Info($"C# HTTP trigger function processed a request. RequestUri={req.RequestUri}");

    string consolidatedFields= string.Empty;

    string jsonContent = await req.Content.ReadAsStringAsync();

    log.Info($"Request Content: {jsonContent}");

    if(string.IsNullOrEmpty(jsonContent)) {
        return req.CreateResponse(HttpStatusCode.BadRequest, "JSON Request is empty.");
    }

    dynamic data = JsonConvert.DeserializeObject(jsonContent);

    if(data== null) {
        return req.CreateResponse(HttpStatusCode.BadRequest, "Could not parse Body from JSON request");
    }

    // this should be a json array
    var postedFields = data;

    log.Info($"{postedFields.Count}");

    foreach(var field in postedFields)
    {
        consolidatedFields += field.cdi_label + ":" + field.cdi_value + System.Environment.NewLine;
    }

    return consolidatedFields == null
        ? req.CreateResponse(HttpStatusCode.BadRequest, "Error parsing the posted fields from the request body")
        : req.CreateResponse(HttpStatusCode.OK, consolidatedFields);    }
}
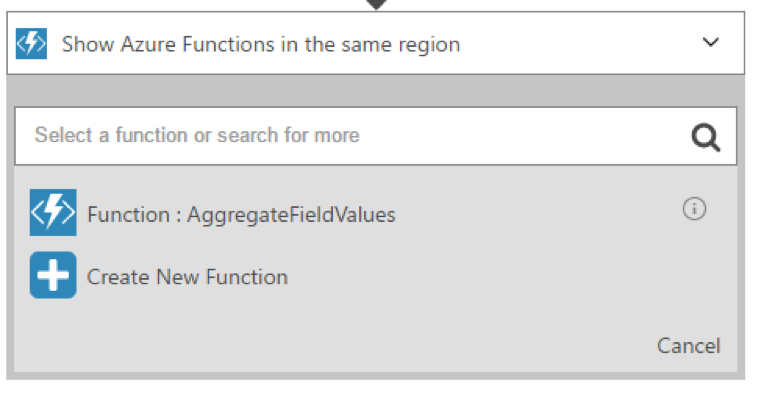
Now that we have tested our Azure Function, let’s add it to our Logic App. To do so, we need to switch our source to Show Azure Functions in the same region.
We have one more trick up our sleeve. When you select an output parameter of an action that returns a list of values, Logic Apps automatically creates a For Each loop, performing the action you just configured once per returned record. Here is what it would look like if we used one of the outputs of the previous step:
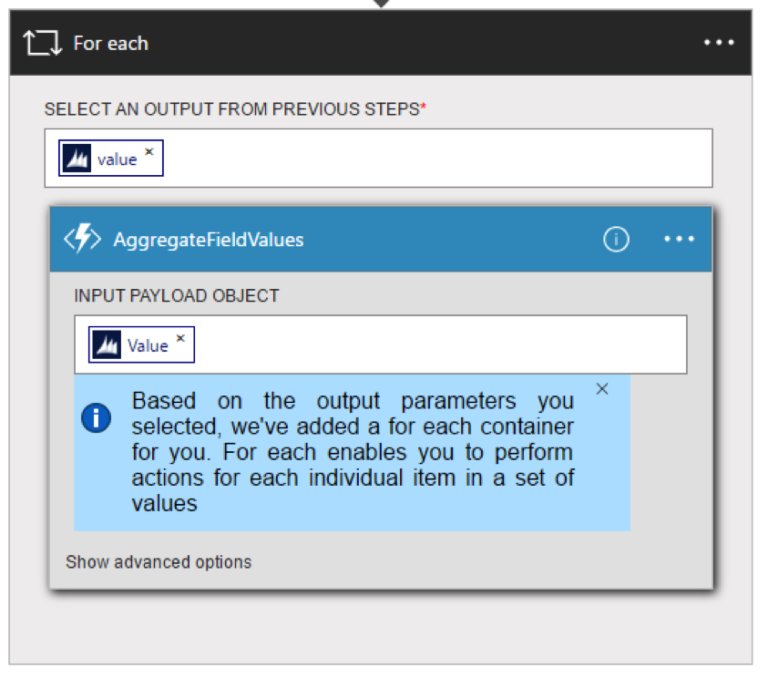
Instead, choose the value from our trigger step to ensure Logic Apps doesn’t create the For Each. Then, flip into code view to make the final changes.
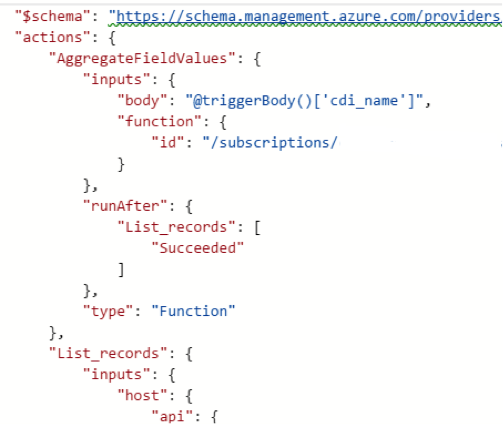
Replace @triggerBody()[‘cdi_name’] with @body(‘List_records’)[‘value’].
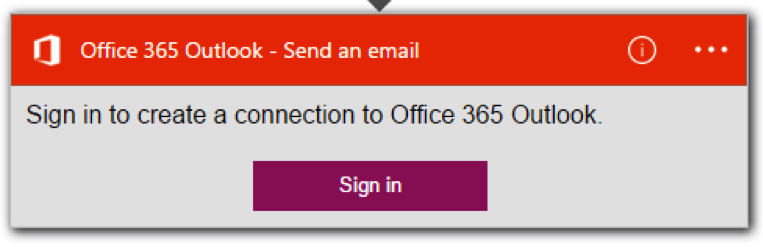
Flip back over into the Designer view and the rest is easy. We will add an Office 365 Outlook – Send Email action.
We are adding the output of the Azure Function as the primary message of the email.
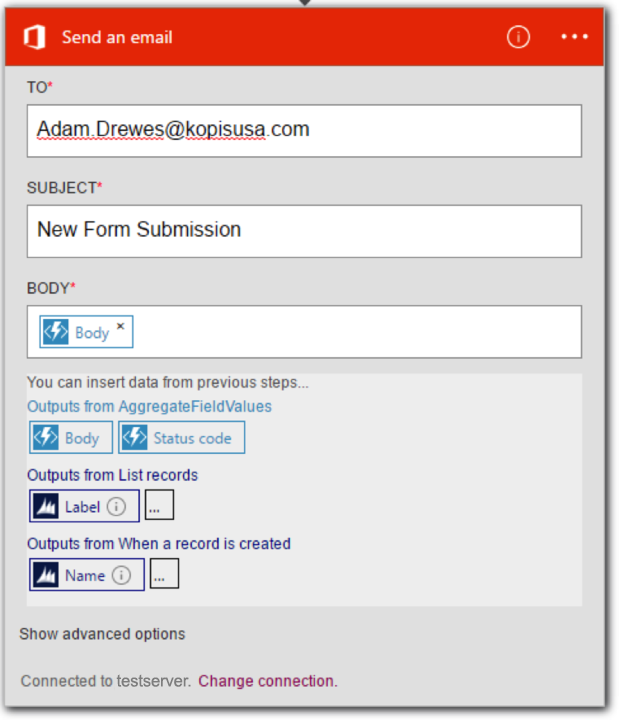
That’s it! Save your Logic App and start testing.