This is a quick tip to drive adoption to multiple web applications within your farm. It was inspired by Wictor Wilén’s post SharePoint 2013 Central Administration Productivity Tip but I tweaked the HTML to use links as well.
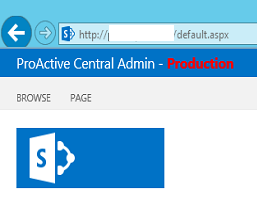
In his post, he describes managing multiple SharePoint 2013 Farms, some of which may be designed to look alike (Production, Staging, etc.). Introduced in 2013, the bar at the top of all sites, called the Suite Bar, defaults to blue with SharePoint in the top left. Every site in your farm is the same, including Central Admin, and if you don’t change it, every farm is the same. Since we are able to customize the Suite Bar with static HTML via a PowerShell command set, many admins are doing so as a piece of their strategy to guard against accidental modifications to the wrong environment. ProActive does this on our farms for our internal use as well as our development farms here for clients.
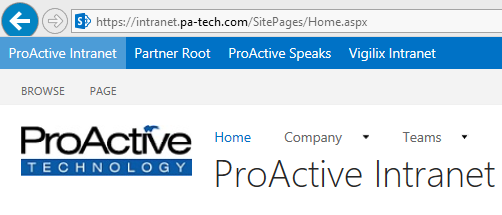
From there, I decided I wanted to do this on some of our content Web Applications as well. ProActive has three main SharePoint web apps, ProActive Intranet, Partner Sites, and Vigilix Intranet, (Vigilix is our sister company), as well as a company blog that features articles sourced from a number of employees. My plan is to use the Suite Bar for two goals:
- Make it easier to switch between applications for those that already use multiple
- Drive awareness and adoption of those applications that aren’t as widely used as the others
Since you can add any static HTML to the Suite Bar, I decided to add links to all the applications listed above on all the content applications excluding the blog since it currently resides elsewhere. Since I wanted this to look similar to the right hand side of the Suite Bar where the Newsfeed, SkyDrive, and Sites links reside, I grabbed the HTML from those links and made some modifications.
So, I grabbed the source by going to the IE Developer Tools (F12). Selecting the correct element, right clicking, and selecting Copy Outer HTML:

Then, I replaced the double quotes with single quotes (for PowerShell), replaced the IDs with my own IDs (I plan on making future mods), and replacing the rendered links with ProActive specific links to give me:

Finally, I take this one line and apply it to all three content applications using the same approach as Wictor. The end product is: